How To Hang Floating Shelves: A Step-By-Step Guide
November 30, 2022Whether you’re looking to add a bit of extra storage or simply want to display your favorite accents, floating shelves are the perfect addition to any room. But how do you install them correctly? With this step-by-step guide, hanging floating shelves is easy!
Pick out your shelf
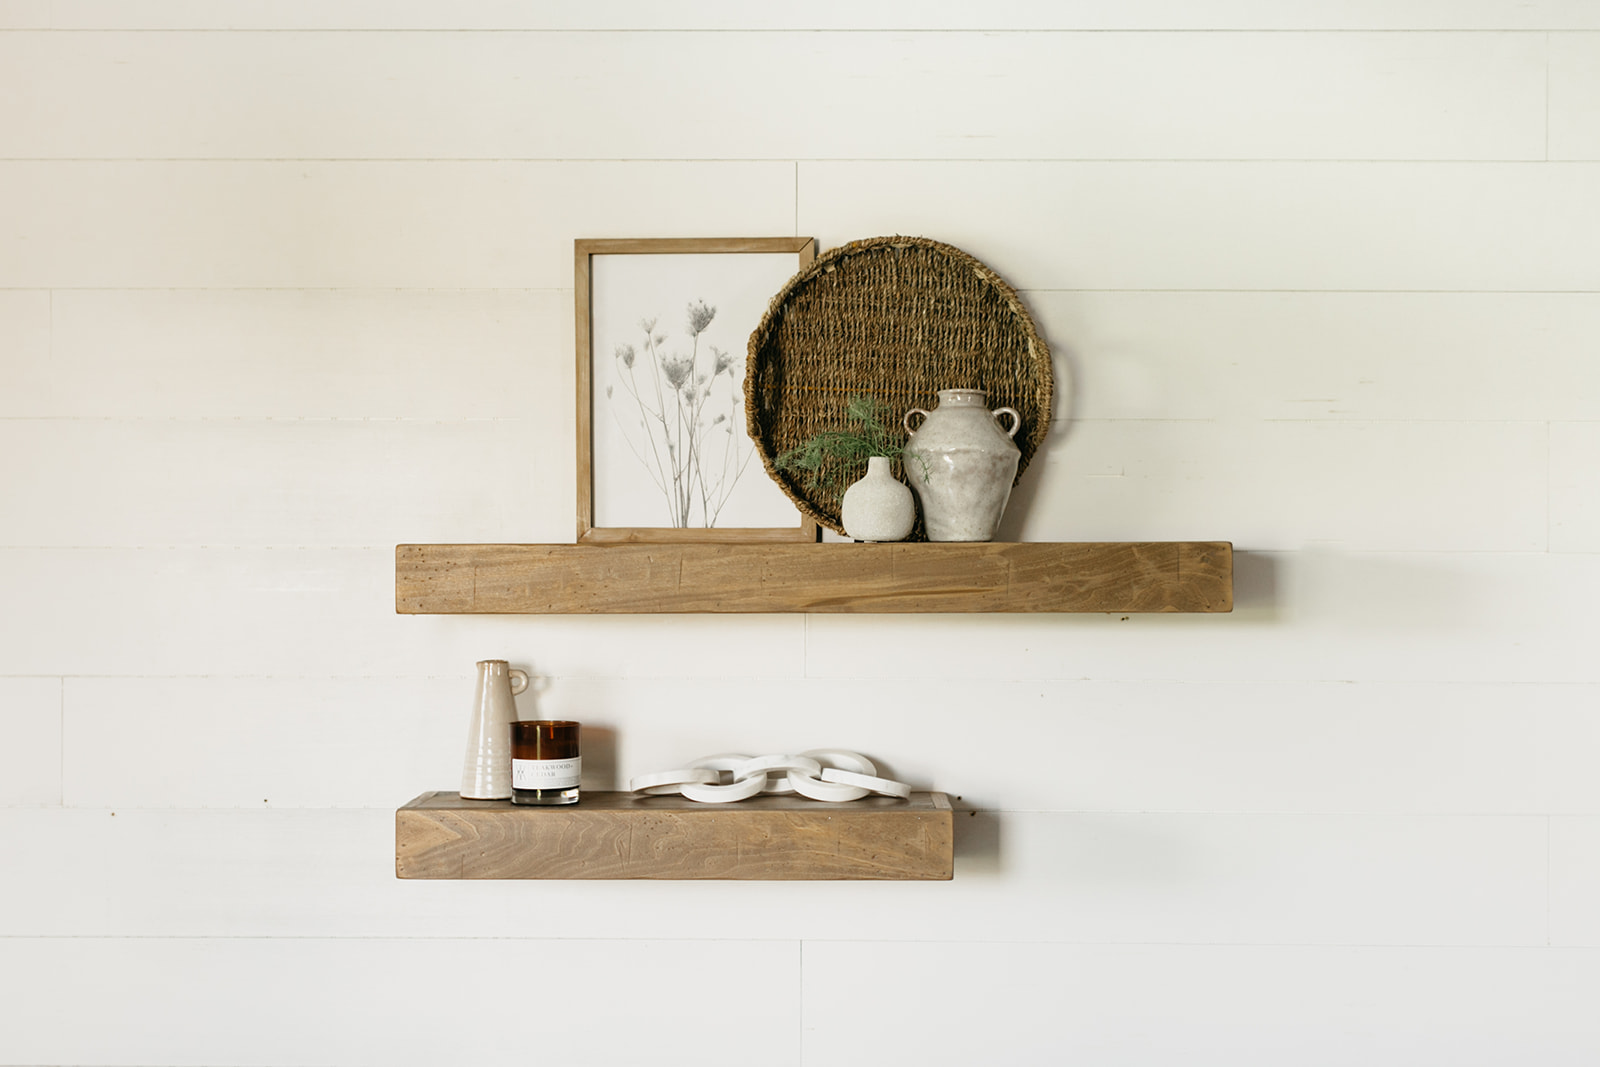
The first step is to choose the floating shelf that is right for your home. Timber Made offers several handcrafted wooden floating shelves. Made of genuine maple, pine, and poplar, these beautiful shelves offer a clean, modern aesthetic for your living space. Our floating shelves are available in a variety of sizes and stains and are finished with protective clear sealers.
Gather your tools and materials
Before getting started, it’s important that you have all the necessary tools and materials on hand. You will need a drill and screws, wall anchors (if necessary), a level, measuring tape, and the hardware that came with your shelf. With Timber Made floating shelves, you don’t have to worry about purchasing the right brackets. We include brackets specifically designed for the weight, size, and aesthetic of each shelf. Furthermore, our mounting pieces come with pre-drilled holes to allow for quick and easy installation.
In order to firmly secure your shelf and prevent damage to your walls, we recommend mounting your floating shelf on studs. A stud finder — a hand-held device that uses a magnet to detect metal — can help you locate the ideal spots to mount your shelf. If you choose to hang your shelf on drywall, make sure you purchase drywall anchors (sometimes referred to as hollow wall anchors). An easy way to check for drywall is simply to knock with a light fist against the wall. If the area sounds hollow, it’s likely drywall.
Mark your spot
If you are mounting multiple shelves in a line, make sure to measure and align their positions properly before marking your spot. This will ensure that your shelves remain level and evenly spaced.
Use a pencil or another non-permanent marking tool to mark where each shelf will be hung. The easiest way to do this is by holding up one bracket against the wall and using a pen or pencil to mark where it should go. If you are using wall anchors for heavier items, mark these spots as well — this will help you know where to drill. When making your marks, double check that each shelf is level by using a leveler.
Drill pilot holes
After that, drill pilot holes into the marked spots on your wall with a power drill fitted with an appropriate bit size for your mounting screws. This step is extremely important, as it helps prevent cracks from forming in your drywall when the screws are inserted.
If you are hanging your floating shelves on drywall, now is the time to install a drywall anchor into each hole. Insert the anchors until they click into place; this indicates that they are securely fastened inside the wall material.
If created correctly, the pilot holes should provide enough stability for your screws while protecting your walls from damage over time.
How to mount the brackets
Now it’s time to mount the brackets on your floating shelf. Take one and hold it up against the marked spot on the wall until it’s flush against the surface; then use a pencil to trace around its edges so there is an outline of the bracket shape on the wall. Use this shape as a guide when drilling your screws; this way, the brackets won’t slip off during installation. Be careful not to over-tighten the screws; doing so could damage other components inside the walls, such as wires or pipes – especially when screwing through drywall.
Once all screws have been secured tightly into place, repeat this process for each shelf bracket until all brackets are mounted securely onto the wall.
If you prefer to have your shelves seamlessly blend in without visible brackets, Timber Made offers floating shelves with hidden brackets.
Secure your shelves
Once all brackets have been installed correctly onto the wall, it’s time to attach your shelves. Place one side of each shelf into its respective bracket while making sure it’s level; once they are secure, tighten any loose screws until everything feels snug, but not too tight — you don’t want to damage your shelves. And voila: Your new floating shelves should now be securely mounted onto the walls of your home!
Additional tips to mount your floating shelves
If you follow these step-by-step DIY instructions, you can start enjoying your perfectly mounted shelves without having to rely on a professional handyman or contractor.
Just remember that floating shelves are designed for lighter items – adding too much weight could affect the stability of the shelves and result in damage to your walls.
Also remember to mount your shelf on studs rather than drywall, if possible. This will give you the most supportive base for your valuable items.
Finally, pick the wood color or stain that matches your room’s aesthetic. Timber Made offers a variety of sturdy maple, pine, and poplar shelves finished with beautiful stains, including dark walnut, weathered gray, and natural maple. Our shelves are all handmade from 100% wood.
If you have any questions, please don’t hesitate to contact us. We’re always happy to help! You can reach us at 717-203-4779 or email us at [email protected].